In this tutorial I’ll guide you through setting up the html form and configuring the PHP script to send all the data entered in the for to your email.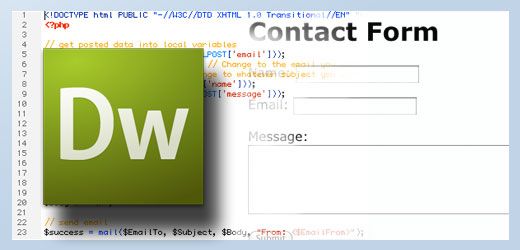
The Example files used in this tutorial can be found here:
http://www.dreamweaver-templates.net/free-php-contact-form.html
To begin with lets unzip the example files you downloaded from my site. On windows you use a program called winZip and on Mac it’s called The Unarchiver. Basically what you do is you double click on the file called Contact-form.zip and the files are unpacked.
1. When you have the to files, ”contact.html” and ”send.php”, unpacked on your computer open up the first one, contact.html in Dreamweaver by either double clicking on it or by clicking on File > Open in Dreamweaver.
2. Next go to the Insert panel and select Forms form the Drop down menu. If the Insert panel isn’t visible you can show it by going to Window > Inert.
Place the marker where you want to insert your Contact form in the document and the click on the Spry Validation Text Field.
When adding new objects from the Insert panel a Dialog Appears where you can give the object an ID and some other attributes.
3. Give the Text Field the ID ”name” and a describing Label such as ”Namn:”, then press OK. The label will appear in front of the Field on you page.
4. Dremweaver then asks you if it should add a form tag to your page. Do so by clicking Yes.
5. Create a new line inside the form which is marked with a red outline by pressing enter on you keyboard.
6. Insert a new Spry Validation Text field form the Insert panel and apply the following attributes:
ID – ”email”
Label – ”Email:”
7. With the email text field selected change the Type to Email Address in the Properties Inspector.
Dreamweaver will then show the text ”Invalid Format” next to the text field. This is what the user will see if the email is not entered correctly. You can hide this by changing the Preview States in the Properties inspector to Initial.
8. Next, add another line in the form and insert a Textarea and apply the following attributes:
ID – ”message”
Label – ”Message:”
9. And finally insert a Button below the Textarea with the ID ”send”.
10. Select the form by clicking on the red outline and change the Method to ”POST” in the Properties inspector.
11. Click on the folder icon next to the Action field, this brings up a Dialog named Select file. Go to the send.php file you downloaded in the example files and select it.
12. Save the file. File > Save
When saving the file Dreamweaver tells you that it’s going to copy two files to your site. These files is needed by the form to be able to verify that the email address is entered correctly.
Next you need to edit the send.php scrip a bit.
13. Open the send.php in Dreamweaver.
14. View the document in Code view by clicking on ”Code” in the upper left corner.
15. Change the ”EamilTo” to the email address you want your contact form to be sent to.
16. Change the ”Subject” to whatever subject you want to have in you emails.
17. The save and close.
The Contact form is now working, all you have to do is upload it to your webserver.
If you try the form on your local computer everything will look just fine except that the send function will not work. For this to work you need a server with PHP installed. Almost all webhosts have PHP installed so don’t worry.